Showing posts with label Cheese. Show all posts

Friday, March 27, 2026

How to Make a Charcuterie Board

    The word “charcuterie” (shaar·koo·ter·ee) means cold cooked meat. That’s French, but of course here in the states we’ve taken the idea of “laying out food on a board to look pretty” and run with it. Technically, there must be meat on the board for it to be “charcuterie.”


    Everyone loves them. Charcuterie boards make you feel So Cultured and Fancy. But really they are just glorified Lunchables. They make stunning centerpieces, and are often the star of the show. Which cheeses should I pick? Should I only pick 4?? And there are rules about hard, soft, stinky, mellow? They're colorful, overflowing, and filled things people love to eat, namely cheese, meat, and bread.

Rules for an amazing charcuterie board


  1. You need a variety of types of cheese: at least 1 soft, 1 hard, 1 tangy. (2 oz per person) “Something old, something new, something goat and something blue.” 
  2. Decide whether the board is gonna be full(no board showing) or minimal.
  3. Don't buy anything you think your guests will eat.
  4. A choice of fun and interesting jams, sauces, and savory spreads absolutely MAKE a charcuterie board. Don’t skimp in this area.
  5. Provide a few different types of crackers and bread. 
  6. Choose a variety of ingredients based on texture: crispy, soft, chewy.
  7. Have something spicy and something sweet
  8. Serve cheese room temperature; it’s more flavorful than cold cheese.
  9. Be strategic in your placement, and arrange the crackers or bread in neat piles or rows, making sure they are not touching anything that will make them soggy.
  10. Make everything bite sized. Cut everything that is going on the board.
    Cheese, meets, fresh fruit, veggies, crackers, nuts, spreads, sauces!

Example


Everyone loves cheese 8 oz. block cheddar cheese, cubed
Hard cheese ("something old") 6 oz. aged Guyère
Soft cheese ("something new") 6 oz. mozzarella balls
Goat cheese 6 oz. chèvre
Blue cheese 6 oz. Cambazola
6 oz. 

thinly sliced s

oppressata

6 oz. 

summer sausage, sliced

6 oz. ham

1/4 cup 

honey

1/2 cup Roasted red pepper hummus

1/2 cup fig jam

1/4 cup dijon

1/2 cup 

smoked almonds

Fresh fruit such as strawberries, blackberries, grapes, and apple slices

1/4 cup 

dried fruit, such as apricots or Craisins

Bread and crackers, for serving 


Thursday, July 22, 2021

Mesquite Chicken Fajita wrap


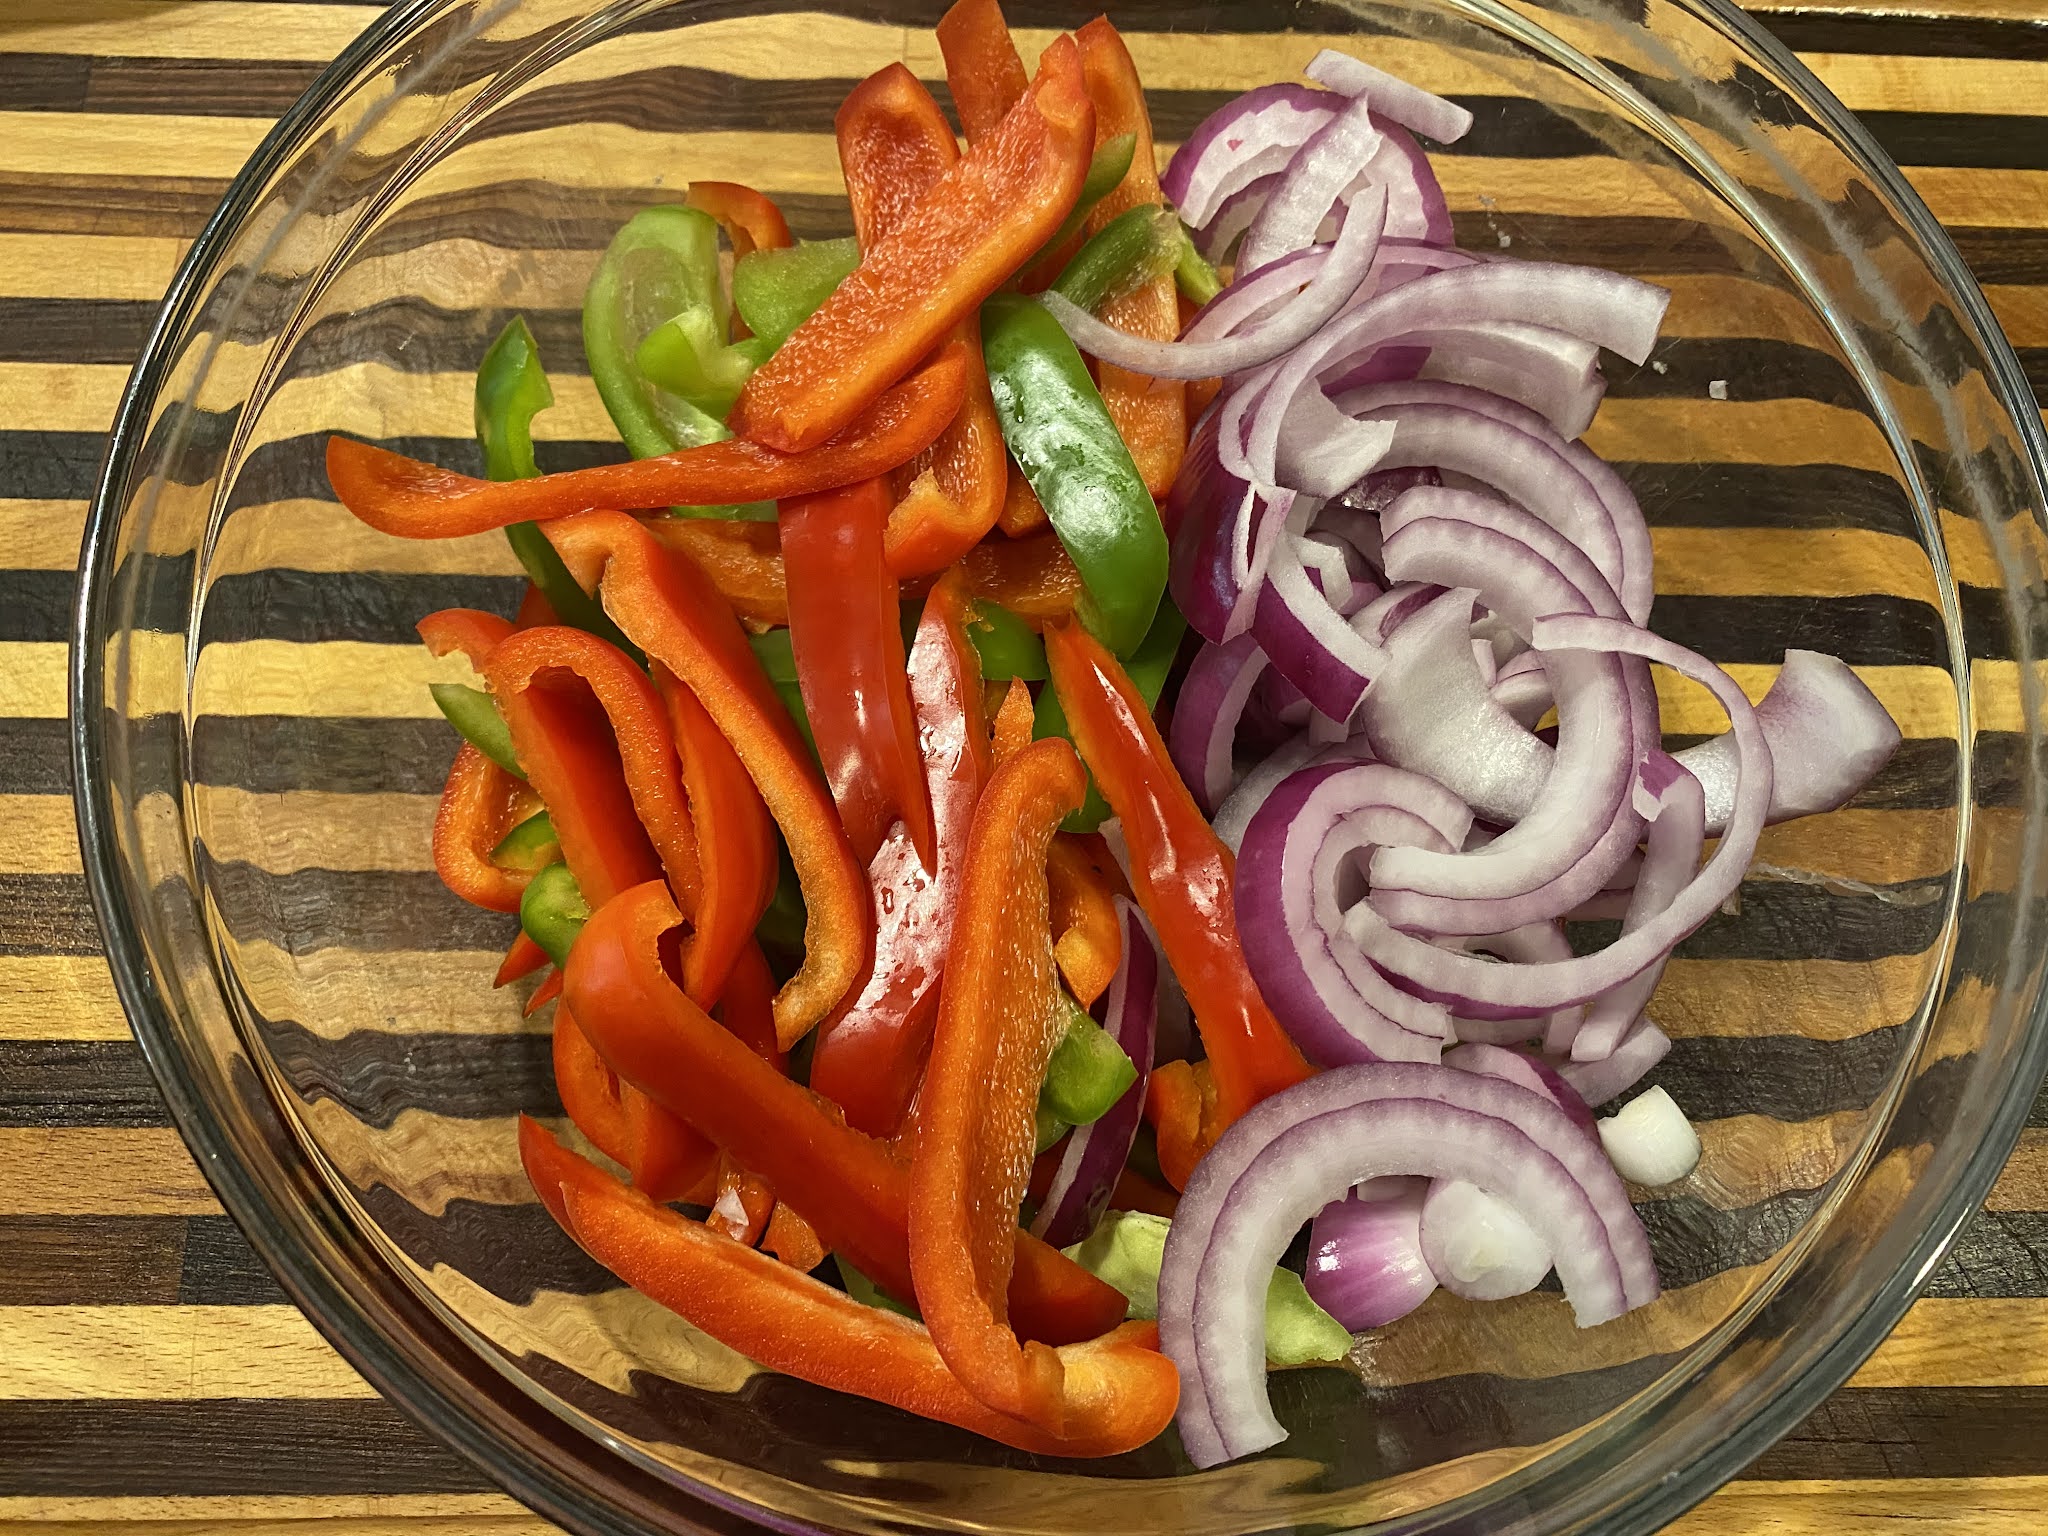
Cut the peppers 🫑 length wise. After washing of course. I have 3 peppers here.Do the same to the red onion. 1 onion


I took 2 boneless, skinless chicken breast and cut strips with them.


I put the chicken in a zip lock and covered them with Grill Mates Mesquite seasoning. 2 packs


Put the chicken on my braiser and put the lid on to keep them moist. Let that sit until cooked. 


After the chicken is cooked, then you add the peppers and onion and let it all marinate on medium low with the lid on to keep the moisture for about 5-7 minutes. Take the lid off and a mix it around. Let the water dissipate until just a little is left.
Add as much as you want to a burrito tortilla then I like to add a bit of shredded cheddar cheese and a line of ranch. This is soooo good. 

Bon Apetite!!


Tuesday, July 20, 2021

Cheese Burger on a skillet


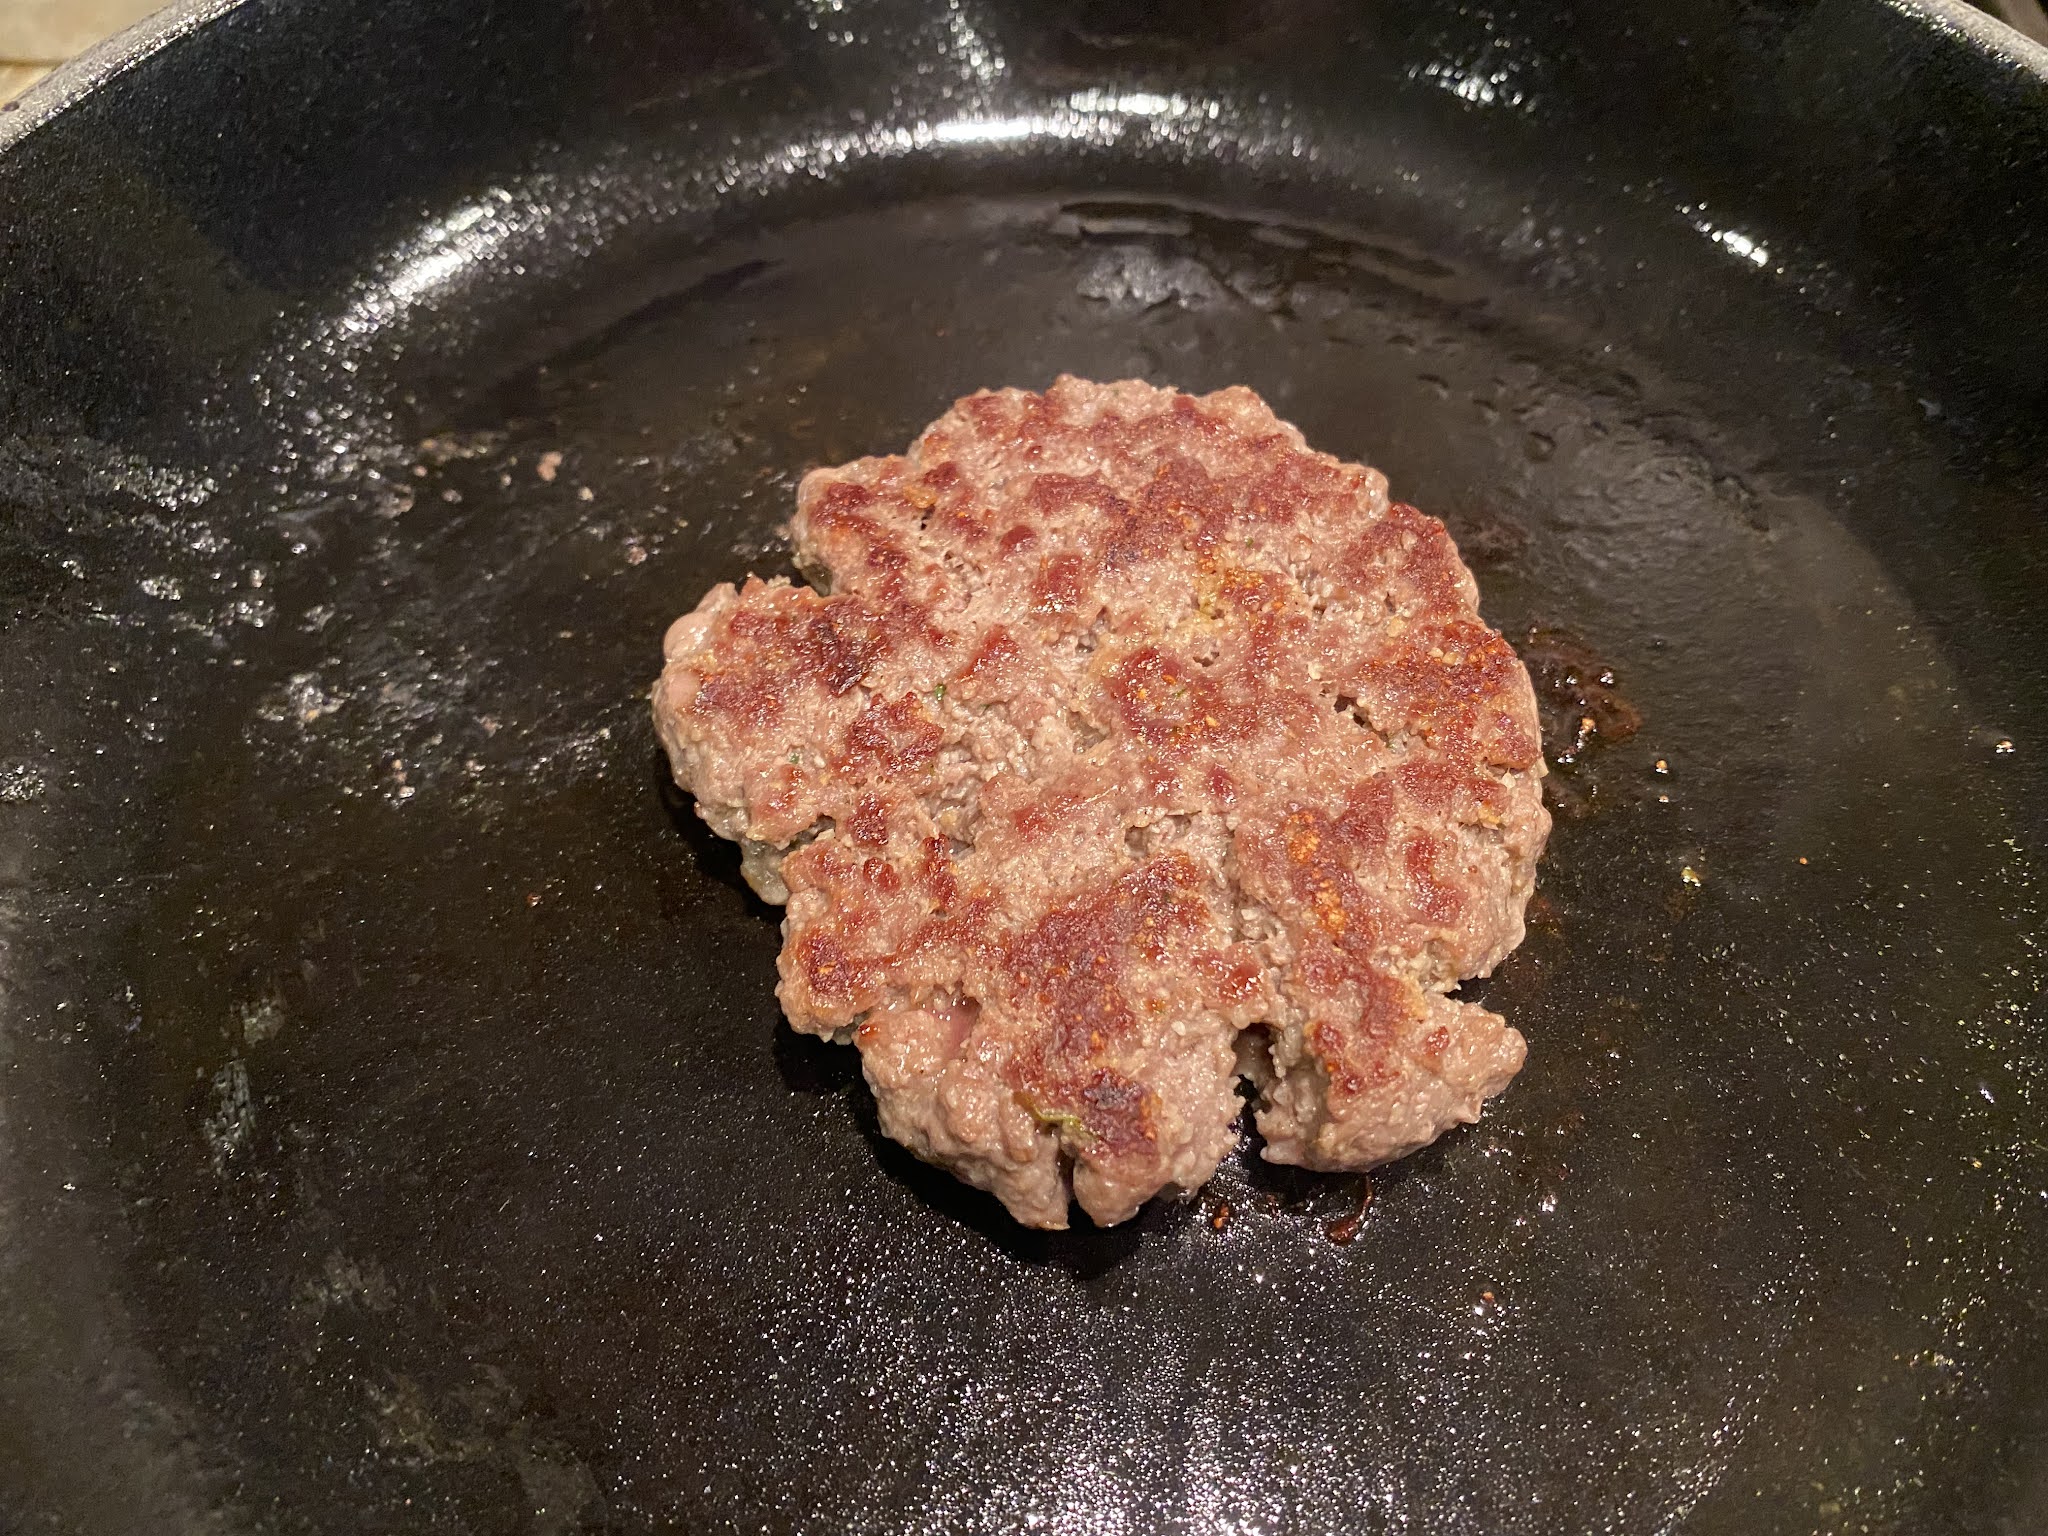
I like to season my patties with Garlic powder, seasoning salt and onion powder. Sometimes I add chopped onion in there too. I use 93/7 hamburger meat. Most people use 80/20 for the fat, but I try to make things healthier when I can. Plus everyone always compliments our burgers. So we must be doing it right! I make 4 patties from a pound of meat. 


Use a nice skillet  to make sure you get that nice brown caramelization on the patty. It gives it great flavor.  Do not touch it for 4 min then flip and leave for another 4 min. That will give you a no pink patty. If you want it medium then do 3 min by 3 min. Rare then 2 by 2. Always check by temp as well to see if its where you want it. 

Melt the cheese with a metal bowl on top or a lid for the last 30 seconds. Add the toppings of your choice. This time I added;

Toppings
Lettuce 🥬 
Roma Tomatoes 🍅 from my garden
Ketchup 
Mayonnaise 
 
(Toppings to think of down below)


Make sure to toast your bun. I did mine in the toaster on the bagel setting, but if you are doing this on the grill just set it on the grill. 


Toppings to think of
Bacon 🥓 
Red, white or sweet Onion 🧅 
Caramelized onions
Peppers 🫑 
Pineapple 🍍 
Basil 🌿 
Pickles 
Slaw
Avocado 
Mushrooms 🍄 
Goat Cheese
Egg
Ginger
Jalapeños 
Worcestershire 
Blue Cheese 🧀 
BBQ sauce
Mustard


Thursday, February 4, 2021

BBQ Chicken 🐓 Pizza


Serves 2


Ingredients


BBQ Sauce 3 oz. (I use Sweet Baby Ray’s)

Baby Arugula 1/2 oz.

Boneless Skinless Chicken Breast 2

Buttermilk Ranch Dressing 1 1/2 oz.

Naan Flatbreads 2

Red Onion 1

Shredded Cheddar Cheese 5 oz.


Preheat oven to 375


Directions


Peel and halve onion. Slice halves into thin strips. Pat chicken breasts dry.


Place chicken breasts on a baking sheet in the preheated oven for 25 min with a ending the pasture reaching 165 degrees. 


During this time, lets caramelize the onions. Place a pan on the stove to medium heat. Cut the onion into strips and add to the pan with a tsp of oil. Stir occasionally until browned. If pan because dry, add water (1 tbsp) at a time. Remove from burner when done.


After your chicken has reached the temperature, take out the chicken and let it rest on the cutting board to let the juices return. Then cut how you like for the pizza. I just chopped mine up. 


Place flatbreads on a baking sheet or do as I do and put them in your skillet. Slather the flatbreads with the bbq sauce. Put about 2 oz of cheese on each flatbread. Top with caramelized onions.


Then top with your chicken, the rest of the cheese and a pinch of pepper.


Bake in the same temp oven until flatbreads are crisp and cheese has melted, about 10 min. If you want a crispier crust put the pizza on the top rack with the baking sheet on lower rack to catch any drippings. 


Finish the pizza with arugula and a drizzle of buttermilk ranch dressing. 


BON APPETIT!!!


Thursday, January 28, 2021

Ground Beef Tastadas


 Ingrediants

Black Beans 1/2 cup

Corn 1/2 cup

4% or 7% Lean Ground Beef 8 oz

Green Onions 2

Lime 1/2

Green or Red enchilada sauce 3 fl oz

Tomato 1

Shredded Cheddar Jack Cheese 1/2 cup

Sour Cream 1 oz

Whole Wheat Tostada shells

Makes 6 Tastadas


Instructions

Prepare your ingredients. Chop the green onions, juice the lime, Cut the tomato small, drain the black beans and the corn.


Start the skillet or braiser and add a teaspoon of olive oil and add the meat. Cook until brown, about 3-4 min. Add white portion on the green onions and corn to the meat and combine. Stir occasionally for about 2 to 3 min. Add in black beans, a pinch of salt for flavor and combine. Stir in enchilada sauce, lime juice (keeping a tsp for lime crema) and half the tomato. Remove from burner. Top the mixture with the cheese then let it sit with the lid on until cheese melts should be just a couple min because everything is still hot. 

During the time that this is melting, mix the sour cream, about a tsp of lime juice, half of the green onions and a pinch of salt and pepper to make you Lime Crema.

Take your Tastada shells and scoop your mixture on top. Plate it. Add some fresh tomatoes on top with some green onions, a squirt of lime juice and some lime crema.


BON APPETIT!!!


Saturday, January 16, 2021

Philly Cheesesteaks

 So back when I was in the military I was stationed in Philly for a time getting our ship decommissioned. In my mind it was crazy because it was only 8 years old. But it is what it is. During the time I was there I would go off base to get the most amazing Philly Cheesesteaks. They were done off of one of those food trucks. That is also my favorite tacos! Food truck tacos!! Aaaaanywaaaaays, these things were awesome. If you are from Philly I am sure you have a different recipe.......and I would love to have it. But I was only there for a time and never learned how to make it correctly. So I am giving my best guess here.

One thing I have learned is Philly cheesesteaks need very little seasoning. Don’t go crazy and try and get all creative. That is not what these are about. They are simple and too the point. Actually, I think the biggest part of these is caramelizing the onions. So that’s I made sure I did first. It also is the longest part of it all. 

This will make 4 Cheesesteaks

First mix 3 tablespoons of room temperature butter and a garlic clove minced together. Set aside to put on the hoagie buns.

So take one large yellow onion and chop it. Add this onion to the buttered braiser that is on medium heat. If you want to use a not stick you can. But I love my braiser and how it makes my carmelization perfect. I’m sorry I did not get a picture of this because I was also entertaining guests. I will do it next time and add it on here. I set aside my onion in a bowl so I could use my braiser next for the steak. Just put it next to you, you will add thIs to the steak when it is almost cooked through.

Next I took my New York steaks out of the freezer that I had in there for about 45 min. The reasoning behind this is to make it a lot easier on yourself to cut the steak into thin strips. You want this for melt in your mouth delicate steak pieces for your bun. Cut it all up then add to the braiser. Add about a tablespoon of olive oil, salt and pepper and let it cook. Turn when ready about 2-3 minutes. When it is almost done cooking add the onions back in and combine. Let it sit for a moment on low and let the juices get back into the steak and add the provolone cheese on top and let that melt. 

During this time spread the garlic butter spread onto the inside of the hoagie buns, put them inside facing up on a baking sheet and put them in the oven. Set the oven to broil. DO NOT WALK AWAY. It will only take a couple minutes and you will have warm perfect hoagie buns. Take them out as soon as you see the golden brown carmelized on top. 

When you take them out the cheese should be melted perfectly. Take your spatula and transfer the steak, onions and melted cheese onto the hoagie. Do this will all 4  hoagies. Plate them all or serve them on a platter like I have done. Enjoy!!

BON APPETIT!!


Monday, January 11, 2021

Grilled Cheese with my Cheese Bread

 First make my Cheese Bread


Time to slice your bread!


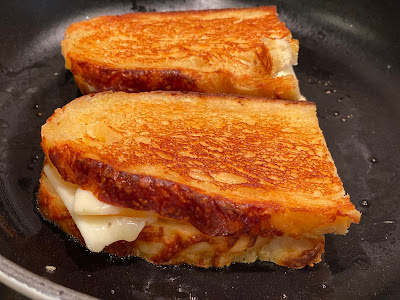
Butter both pieces. Place on the skillet. I have my Le Creuset skillet here of course. Lol. Add cheeses that you like. I added Swiss, Havarti and Munster. It’s fun to switch it up. 

Bon Appetit

Sunday, January 10, 2021

Cheesy Dutch Oven Bread

 This is a favorite of mine. My family and friends love it and my best friend always asks if I have any made when she comes over. Lol. It is a go to and can be used with many things!


Ingredients

8 servings

3½ cups bread flour (445 g), plus more for dusting
2 ½ cups shredded sharp cheddar cheese (250 g), divided
1 tablespoon kosher salt
2 cups warm water (480 mL)
1 package of instant yeast (2 1/4tsp)
(if active yeast, just use warmer water and let it sit 15-20 min longer)
1 tablespoon olive oil

Preparation

Combine the bread flour, 2 cups (200 g) of cheddar and salt. Stir well.

In a separate large bowl, combine the water and yeast. Pour the flour mixture on top of the water and use a silicone spatula to stir until the dough comes together.

 With the spatula, fold the dough around the edges of the bowl toward the middle, rotating the bowl whenever and folding a complete of 8 times. Cover with a kitchen towel and let rest in a warm place for hour, or until almost doubled in size.

 Using the spatula, fold the dough toward the middle again 8 more times. Cover with the towel and let rest for half-hour.

Add the Dutch oven and lid to the oven, with water in it, and preheat to 450˚F (230˚C) for half-hour.

 Lightly flour a clean surface and your hands. Carefully peel the dough out of the bowl and onto the floured surface. Fold the sides of the dough towards the middle 8 times, then flip the dough and transfer to parchment paper.

 Brush the dough with the vegetable oil. Sprinkle the remaining ½ cup (50 g) of cheese on top. Slit the bread for steam

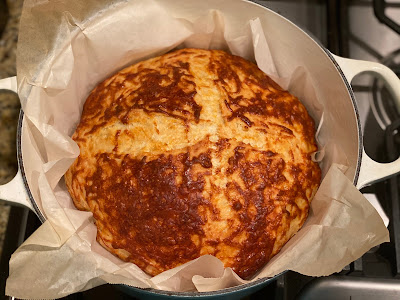
Carefully remove the Dutch oven from the oven, dump the water and use the parchment and lift the bread into the pot. Cover with the lid and bake for half-hour, then remove the lid and bake for 20 more minutes, until the bread is golden brown.

 Pull the parchment out with the bread out of the pot and onto a wire rack. Remove the parchment paper and let the bread cool for a minimum of 1 hour before slicing.
 Slice the bread and enjoy


Great used with Grilled Cheese

Bon Appetit
;